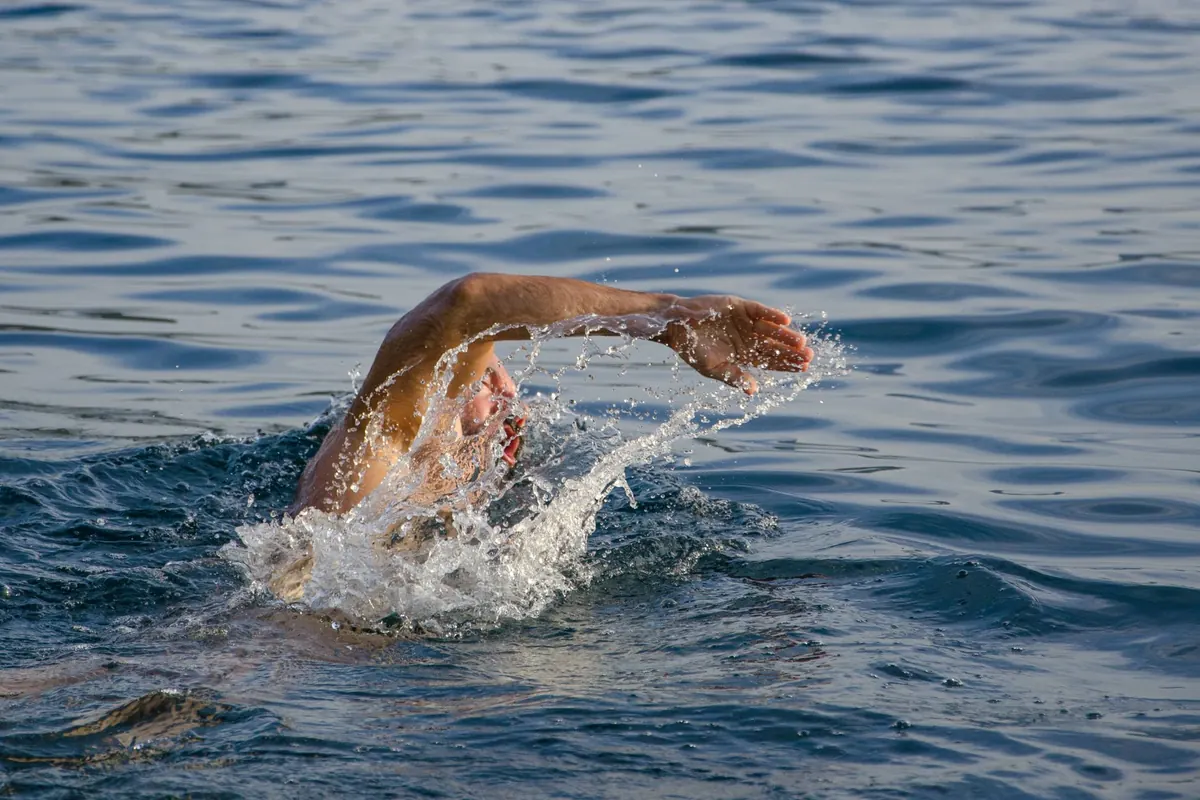
How to Start Open-Water Swimming Safely Along the Coast
The first time you swim off a coast rather than in a pool, everything is louder and less predictable. The water moves, the bottom disappears, the horizon sits at eye level, and there is a great deal going on that you cannot see. It is also one of the best ways to spend a summer morning. The trick is to treat the sea as a place with rules rather than an enormous swimming pool, and to learn those rules in the shallows first.
What follows is a plan rather than a pep talk: how to pick where you get in, what to carry, who to swim with, what to check before you leave the house, and how to build up distance without scaring yourself. None of it is complicated. Most of it is the kind of thing local swimmers do without thinking, which is exactly why it is worth writing down.
Choose the entry point before you choose the distance
Start with a walk, not a swim. If you can, look at your chosen stretch at low tide first. A smooth sandy bay seen from the promenade can hide a rock shelf, a sudden drop-off, or a line of submerged boulders ten metres out. Fifteen minutes of walking tells you more than any map.
Good beginner entry points share a few features: a gently sloping sandy bottom, a beach where people swim regularly, ideally a lifeguarded zone in season, and an easy exit within a short swim of wherever you are. Avoid river mouths, harbour entrances, piers and moorings. Boats are not looking for heads in the water, and a harbour mouth funnels current in ways that surprise even strong swimmers. Skip rocky ledges that take swell, and give jetties a wide berth.
Then pick a landmark for your exit — the blue shower block, the third groyne, the striped umbrella — and check it from the water, not the sand. Coastlines look entirely different from swimming height, and the beach you left is often not the beach you think you are swimming back to.
The kit worth carrying
You do not need much, but the small items matter more at sea than they do in a pool. Buy for visibility and fit rather than fashion, and rinse everything in fresh water afterwards.
- Goggles that fit, plus a spare pair. A strap that snaps two hundred metres out turns a good swim into a blind one.
- A bright swim cap. Neon yellow or orange. Dark caps vanish against the water in flat light.
- A tow float. A small dry-bag buoy on a waist leash. It makes you visible to boats, gives you something to hold when you want to rest or sort out a goggle problem, and keeps keys and a phone dry. It is not a lifejacket, and it should never be treated as one.
- A wetsuit or a swim-specific thermal top if the water is cool. A surfing wetsuit will fight your stroke; a swimming one will not.
- Earplugs if you are prone to ear trouble, and a nose clip if you are still learning to breathe out underwater.
- Old trainers or neoprene booties for rocky or pebbly entries.
- A whistle clipped to the float leash, and a simple watch you can read mid-stroke.
- A towel, a warm layer, a hat and water waiting on the beach, not in the car.
Build a buddy system that actually works
Swim with someone. Not because you expect trouble, but because almost everything that goes wrong in open water is easier to manage with a second pair of eyes: a cramp, a lost goggle, a current that turns out to be stronger than it looked, a decision that needs a calm second opinion. A local swimming group is the fastest route to both a buddy and a decent education about your own coastline.
Agree on three things before you get wet: where you are going, how long you plan to be out, and what happens if you lose each other. The usual answer to the third is to return to the entry point and wait. Keep within a few metres of each other, let the slower swimmer set the pace, and keep signals simple — a raised arm for "stop", a tap on the head for "all fine".
If you can, have someone on shore as well: a friend with a phone who stays put and can see you for the whole swim. And tell a third person who is not coming at all. A text that reads "swimming at the second car park between 7 and 7.40" takes ten seconds and closes the loop.
Check the weather twice
Look at the forecast the night before and again at the beach. Conditions change, and a sea breeze that fills in at eleven o'clock rarely shows up clearly in an app. Read the sky, the flags and the water itself.
- Wind direction and strength. Offshore wind is the one to treat with respect: it pushes you away from land, roughens the surface on the way out, and makes the return harder than the outward leg. Onshore wind is tiring but generally pushes you home. Cross-shore wind builds a current along the beach.
- Tide and current. Know whether the tide is rising or falling and when it turns. Around headlands and harbour walls, tidal current can run faster than you swim.
- Swell and recent storms. A big swell after a blow leaves confused water and stirred-up visibility for a day or two.
- Water and air temperature together. Warm air and cold water is the combination that catches people out.
- Thunderstorms in the forecast, and water quality after heavy rain, when runoff can affect bathing areas.
- Local notices and flags, and anything the lifeguards have marked.
Adopt a simple rule: if two things on that list look wrong, swim another day. The sea will still be there tomorrow, and there is no prize for proving a point to a forecast.
A six-swim progression for beginners
Cold water triggers an involuntary gasp and fast breathing. Enter slowly, breathe out deliberately, and let your body settle before you swim anywhere. Then build up like this.
- Wade and dunk. Five to ten minutes in water up to your waist, getting your face wet and your breathing calm. No distance, no watch.
- Twenty strokes out and back, parallel to the shore, with a buddy and a landmark to sight on. Stay within your depth.
- Ten to fifteen minutes continuous, still parallel to the beach, practising breathing to both sides.
- Add sighting. Every eight to ten strokes, lift your eyes to the horizon and re-find your landmark. This is the skill that keeps you swimming straight when there are no lane ropes.
- Extend along a known line — lifeguard tower to lifeguard tower, groyne to groyne — and note how long it takes.
- Your first point-to-point swim. Pick a short crossing with clear exits at both ends, walk the route on land first, and give yourself a generous window for the tide.
Practise the exit, not just the swim
Most beginners spend all their planning on getting in and none on getting out. On a surf beach, turn sideways to the incoming white water, keep your feet low, and let the wave push you rather than fight it. On a rocky shore, watch a few sets from the water, pick your spot, and move on the lull. Walking out on hands and knees is undignified and completely normal.
Then get warm. Dry off, add a layer, put on a hat, drink something warm, and do not drive until the shivering has stopped. If you have a heart condition, asthma, epilepsy, are pregnant, or are returning to exercise after a long break, speak to a doctor before you start cold-water swimming — it is a sensible conversation, not a dramatic one.
Before you walk to the water
Thirty seconds of checking covers most of it: someone knows where you are and when you will be back; you have a buddy and a plan for getting separated; you know the wind, the tide and where the current runs; your exit is chosen and visible from the water; your float is inflated and your cap is bright enough to see from a boat. If any of those answers is vague, swim close to shore and keep it short.
Photo: mali maeder / Pexels
You Might Also Like
Summer ferries and buses change timetables at different moments, and the connections that work in spring often fail in July. What shifts, what breaks, and how to plan around it.
Flat coastal roads look easy until wind, traffic and heat rewrite the plan. Here are the seven mistakes new riders make most often — and the simple fixes.